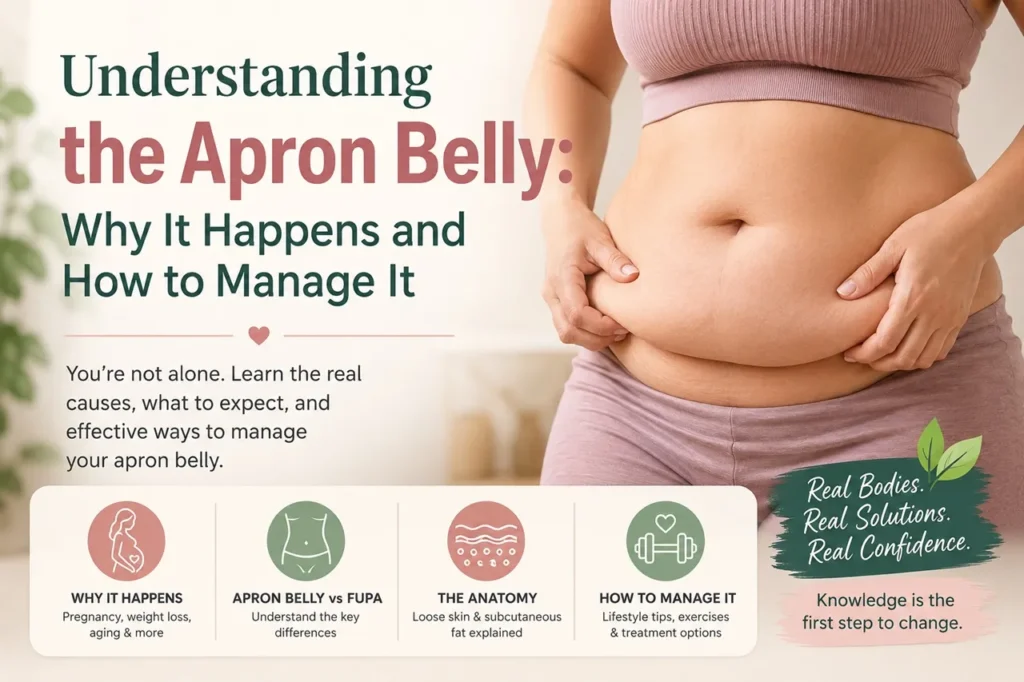
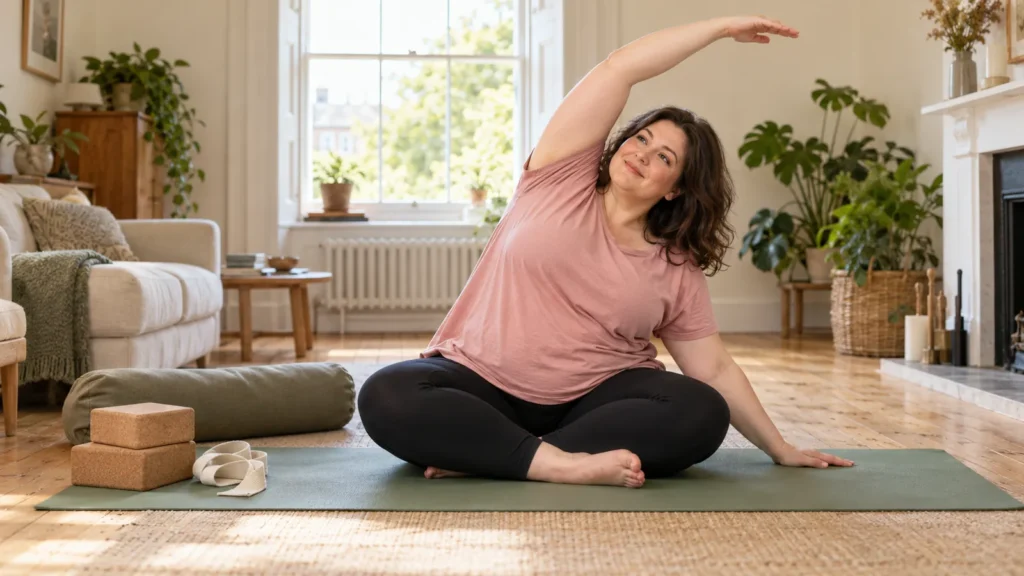
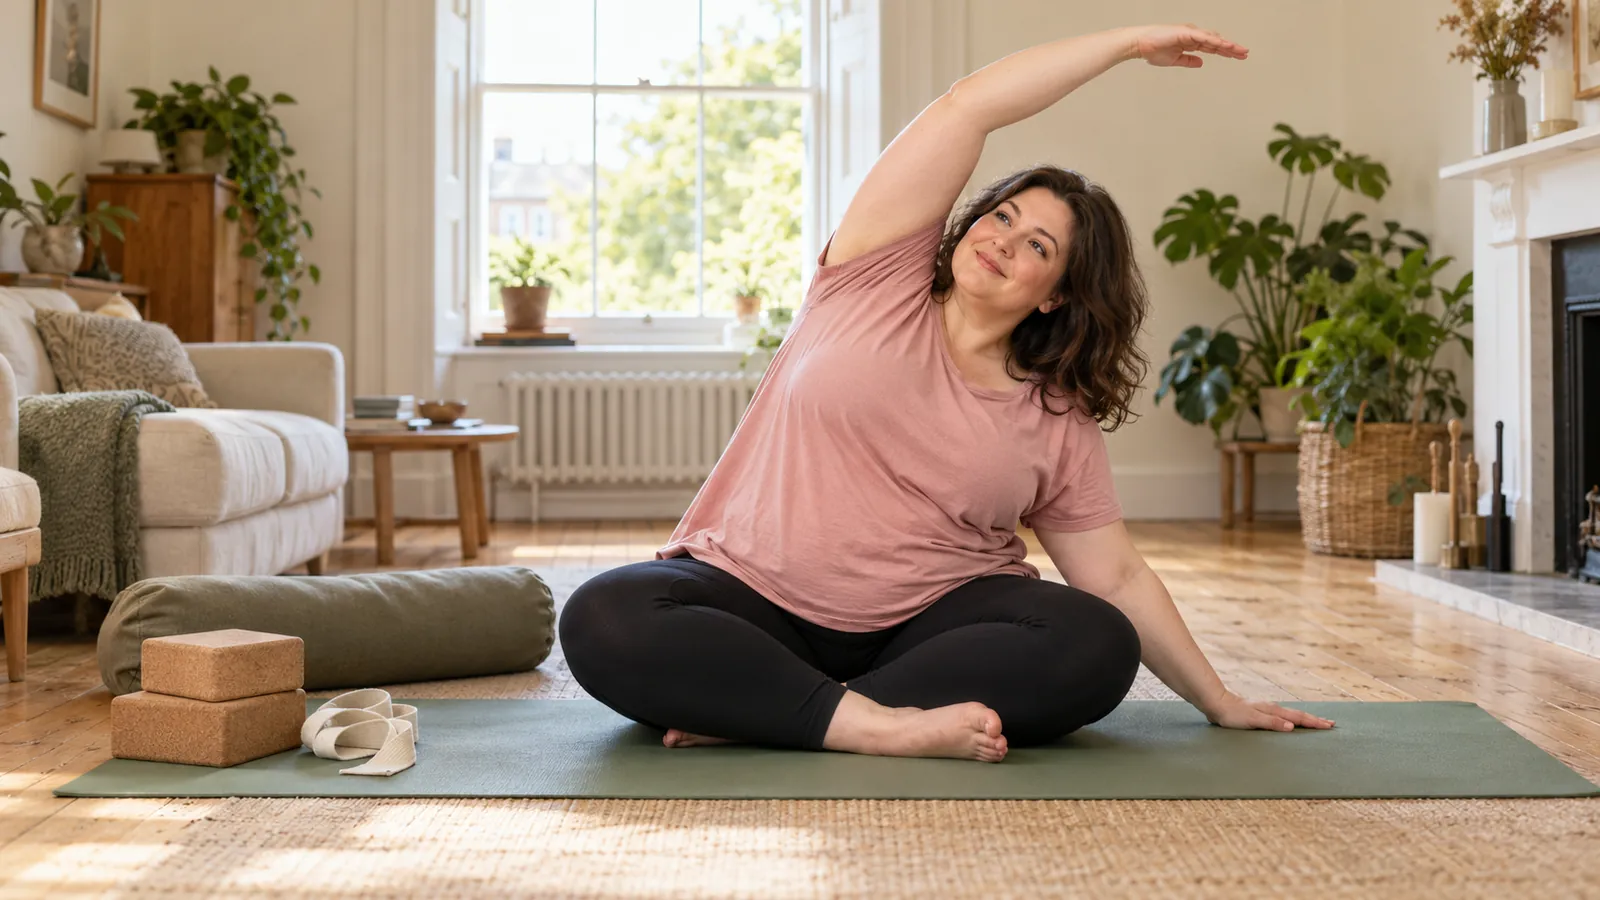
Gentle yoga can be a kind, low-pressure way to move when you carry a heavier lower tummy. This guide to yoga for apron belly comfort explains what yoga can realistically do, how to start safely and which props make poses easier. It then walks you through 12 gentle poses, each with a simple change for a heavy fold.
You will also find a weekly routine, a breathing practice, a chair option and clear signs to stop. No pose here asks you to lie on your tummy.
Yoga for Apron Belly: What It Can and Cannot Do
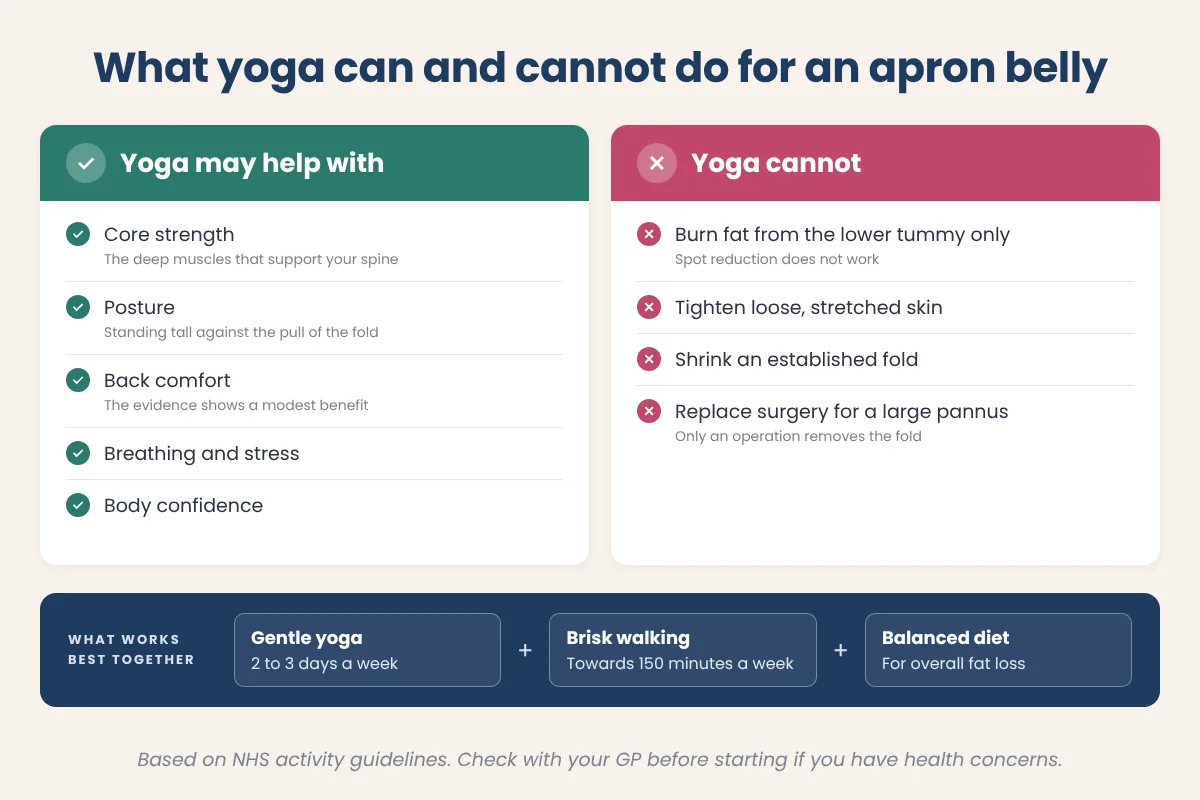
An apron belly, or pannus, is a fold of skin and fat that hangs from the lower tummy. Yoga will not remove that fold. Even so, it can make daily life with one feel easier.
What Yoga May Help With
The NHS physical activity guidelines list yoga as a muscle-strengthening activity for adults. It advises strength work on at least 2 days a week, plus 150 minutes of moderate activity.
A regular, gentle practice may help with:
- Core strength: the deep muscles that support your spine.
- Posture: standing poses help you stand tall against the pull of the fold.
- Back comfort: the NHS says yoga, walking, swimming and pilates may help ease back pain.
- Stress: slow breathing can help you feel calmer.
- Body confidence: moving with care can shift your focus to what your body can do.
On back pain, the evidence is modest. A 2022 Cochrane review of 21 trials found yoga was slightly better than no exercise for back function at 3 months. It worked about as well as other exercise. The most common side effect was more back pain, so build up gently.
What Yoga Cannot Change
You cannot choose where your body loses fat, so no pose burns fat from the lower tummy alone. Yoga also cannot tighten skin that has stretched over many years. Only surgery removes it.
Think of yoga as one part of a wider plan. Our guide to apron belly exercises covers other moves that build strength alongside yoga.
Safety First: Check Before You Start
Yoga is low impact, but some poses press on, stretch or twist the tummy.
When to Speak to Your GP First
Talk to your GP, midwife or physiotherapist before starting if any of these apply to you:
- Recent surgery, such as a caesarean, tummy tuck or hernia repair.
- A hernia, or a lump that gets bigger when you cough. Our guide on apron belly or hernia explains how to tell them apart.
- Diastasis recti, a gap between the 2 long tummy muscles. The NHS advises avoiding sit-ups, planks and high-impact moves to start with.
- Pregnancy. In later pregnancy, the NHS advises against lying flat on your back for more than a few minutes.
- The postnatal period. The NHS notes joints stay more supple for a few months after birth.
- High blood pressure, heart problems or dizzy spells.
Caring for the Skin Under the Fold
Sweat can collect under a pannus during exercise. Start with clean, dry skin, then wash gently afterwards and pat the fold dry. A thin cotton liner under the fold can help. If the skin is red or sore, see our advice on apron belly rash and let it heal before a long session.
What to Wear
Choose soft, stretchy clothing that stays put when you bend. High-waisted leggings with a wide waistband sit above the fold rather than cutting under it. Our comparison of apron belly support belts explains the options.
Props That Make Poses Easier
Props bring the floor closer, give the tummy space and help you hold good form.
- Yoga blocks: place them under your hands in standing poses, or under your hips in bridge.
- Cushions or a bolster: support your knees, your chest or the fold itself when you lie down.
- A yoga strap: loop it around a foot when you cannot reach comfortably.
- A sturdy chair: use it for balance in standing poses, or for a full seated practice.
- A thick mat or folded blanket: cushion your knees in kneeling poses.
Simple Home Swaps
Firm books can stand in for a block. A dressing gown belt works as a strap, and sofa cushions make a good bolster.
12 Gentle Poses for a Heavy Lower Belly
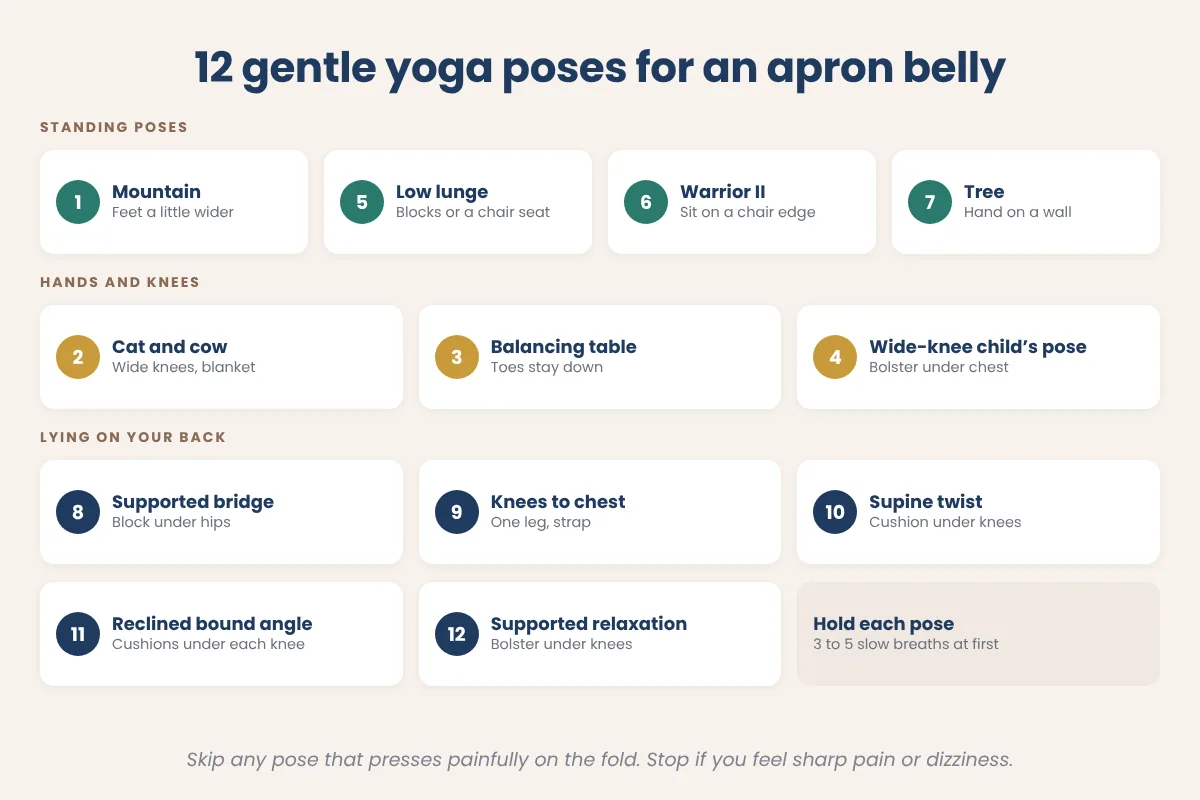
Hold each pose for 3 to 5 slow breaths at first. If a pose presses painfully on the fold, ease off or skip it.
1. Mountain Pose (Tadasana)
How to do it: stand with your feet hip-width apart and your weight even across both feet. Lift through the crown of your head and relax your shoulders.
Modification: stand with your feet a little wider to make room for the fold.
Avoid: locking your knees.
2. Cat and Cow
How to do it: come onto your hands and knees. Breathe in and gently lift your chest and tailbone. Breathe out and round your back, tucking your chin.
Modification: widen your knees so the fold can rest between your thighs. Put a folded blanket under your knees.
Avoid: letting your lower back sag deeply in cow.
3. Balancing Table
How to do it: from hands and knees, slide one leg straight back along the floor. If you feel steady, lift it to hip height. Hold, then switch sides.
Modification: keep the toes on the floor, or lift only the leg and not the opposite arm.
Avoid: lifting the leg higher than your hip, which arches the lower back.
4. Wide-Knee Child’s Pose
How to do it: kneel with your big toes together and your knees wide. Sit your hips back towards your heels and rest your chest forward.
Modification: place a bolster or 2 cushions lengthways under your chest and head. Wide knees give the fold room.
Avoid: forcing your hips down to your heels. If you have high blood pressure, keep your head raised on the bolster.
5. Supported Low Lunge
How to do it: from kneeling, step one foot forward so the knee sits above the ankle. Keep your back knee on a blanket.
Modification: place blocks under both hands, or rest one hand on a chair seat. Step the front foot slightly out to the side to clear the fold.
Avoid: sinking deep into the front hip.
6. Warrior II With a Chair
How to do it: stand with your feet wide. Turn your front foot out and bend that knee over the ankle.
Modification: sit on the front edge of a chair with one leg on each side, then extend the back leg. The fold can rest while your legs work.
Avoid: letting the front knee drop inwards. Keep it in line with your middle toes.
7. Tree Pose at a Wall
How to do it: stand side-on to a wall with one hand on it. Rest the sole of your other foot on your ankle or calf.
Modification: keep your toes on the floor like a kickstand.
Avoid: pressing the foot against the side of your knee joint.
8. Supported Bridge
How to do it: lie on your back with your knees bent and feet flat, hip-width apart. Press into your feet and lift your hips a little way.
Modification: slide a block or firm cushion under the base of your spine and rest there. Lift only as high as feels easy. Place your feet slightly wider for comfort.
Avoid: pushing up so high that your weight goes into your neck.
9. Knees to Chest
How to do it: lie on your back and draw one knee towards your chest, holding behind the thigh. Keep the other foot on the floor.
Modification: work one leg at a time, letting the knee drift out towards the armpit. Use a strap around the thigh if reaching is hard.
Avoid: hugging both knees tightly into a heavy tummy, which can feel breathless.
10. Gentle Supine Twist
How to do it: lie on your back with your knees bent. Let both knees fall slowly to one side while your shoulders stay down.
Modification: rest your knees on a cushion so they do not drop all the way.
Avoid: deep twists if you had surgery recently or gave birth in the last few months.
11. Reclined Bound Angle
How to do it: lie on your back, bring the soles of your feet together and let your knees fall open.
Modification: place a cushion under each knee and a bolster under your upper back. This makes breathing easier.
Avoid: pressing the knees down.
12. Supported Relaxation (Savasana)
How to do it: lie on your back with your legs long and arms by your sides. Rest for 3 to 5 minutes.
Modification: put a bolster under your knees to ease the lower back. If lying flat feels heavy or you are pregnant, lie on your left side with a pillow between your knees and one under the fold.
Avoid: getting up quickly. Roll to your side first, then push up with your hands.
Breathing for Calm and Core Control
Breathing helps you relax and connects you with the deep tummy muscles.
Simple Belly Breathing
The NHS describes a calming breathing exercise you can do sitting, standing or lying down. Let your breath flow as deep into your belly as is comfortable, without forcing it. Breathe in through your nose and out through your mouth, counting from 1 to 5 each way if that helps. Repeat for at least 5 minutes.
Keep Breathing in Every Pose
Holding your breath can raise your blood pressure, so keep it moving. As you breathe out in standing poses, gently draw the lower tummy in and up. That light action supports your back without straining.
Chair Yoga: A Seated Option
Chair yoga suits days when getting down to the floor feels hard. It also suits knee pain or a large fold.
Setting Up Your Chair
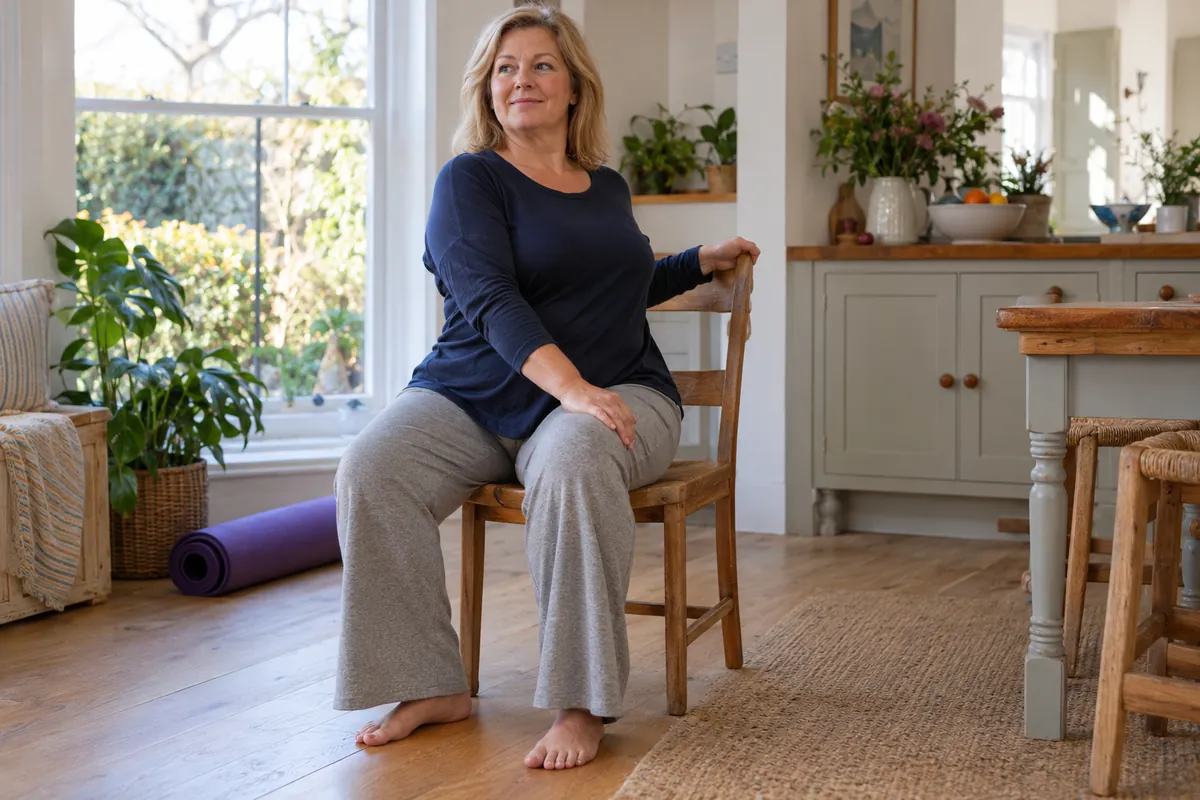
The NHS advises a solid, stable chair without wheels for seated exercises. Avoid chairs with arms. You should be able to sit with your feet flat on the floor and your knees bent at right angles. Sit towards the front of the seat, so the fold rests comfortably between your thighs.
A Seated Version of the Routine
Many of the 12 poses adapt well to a chair:
- Seated mountain: sit tall, feet flat, hands on thighs.
- Seated cat and cow: round and lift the spine with your hands on your knees.
- Seated twist: turn gently to one side, holding the back of the chair.
- Single knee lift: lift one knee a few centimetres and lower it slowly.
- Seated breathing: finish with 5 minutes of belly breathing.
A Simple Weekly Yoga Routine
Start with 2 or 3 short sessions a week. On other days, add brisk walking or swimming to work towards 150 minutes of moderate activity.
| Day | Session | Time |
|---|---|---|
| Monday | Standing set: mountain, low lunge, warrior II with a chair, tree at a wall | 15 to 20 minutes |
| Tuesday | Walk at a brisk pace | 20 to 30 minutes |
| Wednesday | Floor set: cat and cow, balancing table, child’s pose, bridge | 15 to 20 minutes |
| Thursday | Rest, or 5 minutes of belly breathing | 5 minutes |
| Friday | Chair yoga routine | 15 minutes |
| Saturday | Walk or swim | 30 minutes |
| Sunday | Relaxing set: knees to chest, supine twist, reclined bound angle, savasana | 15 to 20 minutes |
How to Progress Safely
Once a session feels easy for 2 weeks, add one or two breaths to each hold. If you enjoy walking on the off days, our guide to walking for an apron belly sets out a simple plan.
When to Stop and Get Help
The NHS advises stopping back exercises if your pain gets worse and seeing a GP for advice. Stop your session straight away if you notice:
- Sharp pain in your back, hips, knees or tummy.
- Dizziness, chest pain or unusual shortness of breath.
- A new bulge or lump in the tummy or groin, especially one that is painful.
- Bleeding, leaking or pain around a surgical scar.
- Broken, weeping or very sore skin under the fold.
The NHS back pain page explains when to get help. If you have a hernia with pain, a swollen tummy or you are being sick, contact NHS 111 straight away. You can also read our guide on whether an apron belly can cause back pain.
Frequently Asked Questions
Can yoga get rid of an apron belly?
No, yoga cannot get rid of an apron belly on its own. It does not burn fat from one area, and it cannot tighten stretched skin. However, it can build core strength, improve posture and ease back discomfort. Combined with regular activity and a balanced diet, it supports overall weight management.
Which yoga poses should I avoid with an apron belly?
Avoid poses that press your weight onto the tummy, such as lying face down in cobra or locust. Deep forward folds and tight knee hugs can also squash the fold. If you have high blood pressure, avoid headstands and shoulder stands. Choose wide-legged, propped versions of poses instead.
How often should I do yoga for an apron belly?
Two or three sessions of 15 to 20 minutes a week is a good start. The NHS advises strength activities on at least 2 days a week, and yoga counts. Add walking or swimming on other days to work towards 150 minutes of moderate activity each week.
Is chair yoga good for a large apron belly?
Yes, chair yoga is a good option for a large fold. It avoids getting down to the floor and lets the fold rest between your thighs. Use a solid chair without wheels or arms, with your feet flat and knees at right angles. Many standing poses adapt well.
Can I do yoga after a C-section?
Speak to your midwife, health visitor or GP first. The NHS says recovery after a caesarean takes longer, so check before starting anything strenuous. Begin with breathing and gentle pelvic floor work. Avoid deep twists and strong stretches for a few months, as joints stay more supple after birth.
Can yoga help with back pain from an apron belly?
It may help a little. The NHS lists yoga among activities that may ease back pain. A 2022 Cochrane review found yoga slightly better than no exercise for back function, and similar to other exercise. Stop if your pain gets worse, and see your GP if it does not settle.
Final Thoughts
Yoga will not remove an apron belly. What it can offer is real: stronger deep muscles, better posture, an easier back and a calmer mind. With props and chair options, every pose here can work with a heavy lower belly.
Start slowly, keep breathing and stop if anything hurts. Check with your GP first if you have had recent surgery, a hernia, a tummy gap or high blood pressure. Our guide to building body confidence can help with that mindset too.