Quick Answer
Strength training for apron belly support builds muscle, helps fat loss alongside a balanced diet and can improve posture, back comfort and confidence. It will not remove loose skin, so set goals around strength and how you feel.
- Follow a simple 4-week beginner plan at home or the gym
- Start light and breathe out on every effort
- Check with your GP first after surgery or a recent birth
Lifting weights with a heavy lower tummy can feel daunting, from the fold getting in the way to worries about your back. This guide to strength training for apron belly support gives you a clear, gentle way to start, with a 4-week beginner programme for home or the gym.
You will learn what weights can and cannot change, who should check with a GP first and which kit you need. Each key move comes with tips for a heavier lower belly.
What Strength Training Can and Cannot Do for an Apron Belly
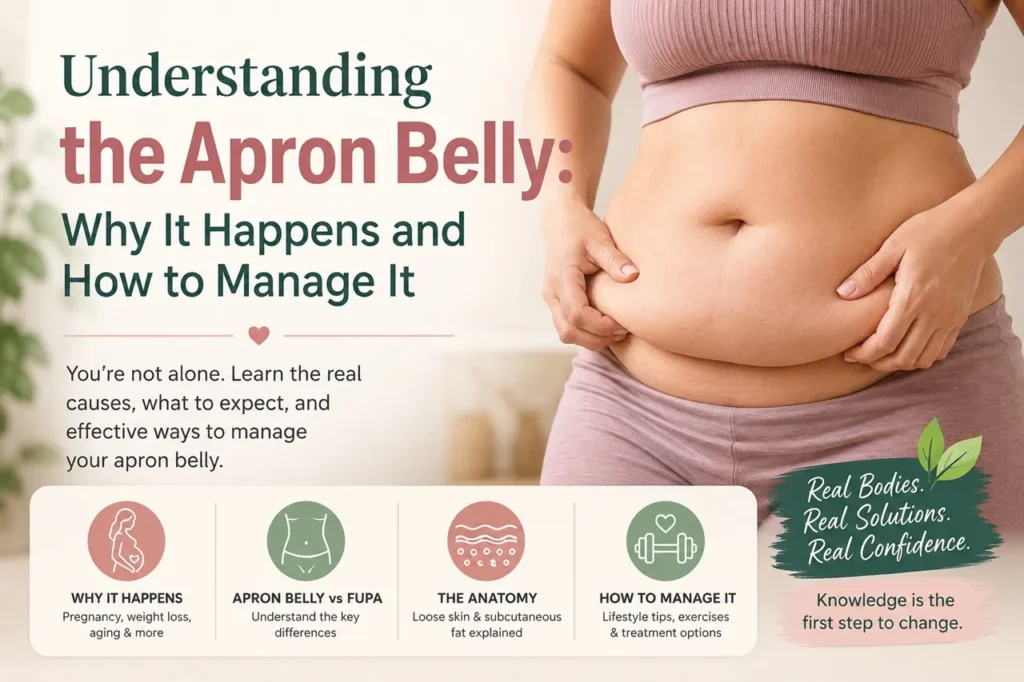
An apron belly, or pannus, is a fold of skin and fat that hangs from the lower tummy. Strength training works the muscles under and around it. It will not act on the fold directly, but it can change how your body feels and works.
What It Can Help With
- Building and keeping muscle, which tends to drop as we get older.
- Supporting fat loss when you pair it with a balanced diet.
- Improving posture, so you carry the weight of the fold with less strain.
- Easing back discomfort for some people, as stronger hips and core muscles share the load.
- Supporting blood sugar control, because working muscles use glucose for fuel.
- Making stairs and carrying shopping easier, which often lifts confidence too.
Read more in our guide to apron belly and type 2 diabetes.
What It Cannot Do
No exercise can burn fat from one chosen spot. This idea, called spot reduction, does not work. Your body draws on fat stores across your whole body, so squats and crunches will not shrink the fold on their own.
Weights also cannot remove loose skin. Skin that has stretched a lot, for example after pregnancy or large weight loss, may stay even when the fat underneath shrinks. Only surgery, such as a panniculectomy, removes a large fold. Our guide to apron belly fat vs loose skin helps you tell which you have.
How Much Strength Work You Need
The NHS physical activity guidelines advise adults to do strengthening activities on at least 2 days a week, working all the major muscle groups. The UK Chief Medical Officers’ guidelines agree, and add that any strengthening activity is better than none. This is on top of 150 minutes of moderate activity, such as brisk walking, each week.

Safety First: Check Before You Start
Strength training is safe for most adults who start light. A few situations need a check with your GP, physiotherapist or surgeon first.
After Apron Belly or Tummy Tuck Surgery
The NHS says you will need about 4 to 6 weeks off work and exercise after a tummy tuck, and full recovery takes around 6 weeks. Do not lift weights until your surgeon clears you. The same applies after a panniculectomy or hernia repair. Our tummy tuck recovery timeline sets out the usual stages.
After Having a Baby
Most women have a postnatal check around 6 to 8 weeks after the birth, which is a good time to ask about weights. NHS advice is to avoid sit-ups, planks and high-impact exercise to start with. Recovery after a caesarean takes longer, so get the go-ahead first.
Diastasis Recti
Diastasis recti is a gap between the two strips of muscle down the front of your tummy. The NHS says it usually closes by the time your baby is 8 weeks old. If it is still obvious after that, see your GP for a physiotherapy referral. NHS physiotherapy leaflets advise against sit-ups, crunches, heavy lifting and breath holding while it heals. Read more in our guide to apron belly and diastasis recti.
Hernia, Blood Pressure and Other Conditions
Ask your GP before you lift if you have a known hernia, or a lump in your tummy or groin that grows when you strain. Our guide on apron belly or hernia shows how to tell a bulge from a skin fold.
Speak to your GP first, too, if you have high blood pressure, a heart or lung condition, diabetes or painful joints. Holding your breath while you strain can push blood pressure up for a moment, so breathing out on each effort matters even more for you.
Equipment You Need
You do not need a gym membership. A small set of kit covers the whole programme, and a few resistance bands are a cheap, joint-friendly extra. If you would rather train with bands alone, our guide to resistance band exercises for apron belly sets out eight standing and seated moves with a weekly plan.
Dumbbells or a Kettlebell
Start with a light pair of dumbbells you can lift 12 times with good form and a few reps to spare. Filled water bottles can stand in for the first week or two.
A Sturdy Bench, Chair or Step
A firm chair or bench supports rows and squats to a seat. The bottom stair works for step-ups. Add a mat for floor moves, and wear supportive trainers with a firm, flat sole.
How to Warm Up
Spend about 5 minutes warming up before every session to raise your heart rate and warm your muscles.
A Simple 5-Minute Warm-Up
- March on the spot for 1 minute, swinging your arms.
- Do 10 arm circles forwards and 10 backwards.
- Do 8 slow sit-to-stands from a chair.
- Do 8 hip hinges with your hands on your thighs.
- Do 8 wall push-ups.
Your 4-Week Beginner Weights Programme
This plan uses one full-body session of 8 moves. Do it twice a week in weeks 1 and 2, then 2 to 3 times a week in weeks 3 and 4. Leave at least one rest day between sessions. Each session takes about 30 to 45 minutes.
| Week | Sessions | Sets and reps | Rest between sets | Effort |
|---|---|---|---|---|
| 1 | 2 | 2 sets of 10 | 90 seconds | Light. You could do 4 or more extra reps. |
| 2 | 2 | 2 sets of 12 | 90 seconds | Light to moderate. 3 to 4 reps to spare. |
| 3 | 2 to 3 | 3 sets of 10 | 60 to 90 seconds | Moderate. Add a little weight if week 2 felt easy. |
| 4 | 3 | 3 sets of 12 | 60 seconds | Moderate. 2 to 3 reps to spare, with good form. |
How to Use the Table
For moves done one side at a time, such as rows and step-ups, do the reps on each side. For the farmer carry, walk for 20 to 30 seconds instead of counting reps.
If you could easily do 5 more reps, go a little heavier next time. If your form slips or you hold your breath, go lighter. If you are still very sore by your next session, repeat that week.

The Key Moves, Step by Step
Do the moves in this order. Each includes a change for a heavier lower belly.
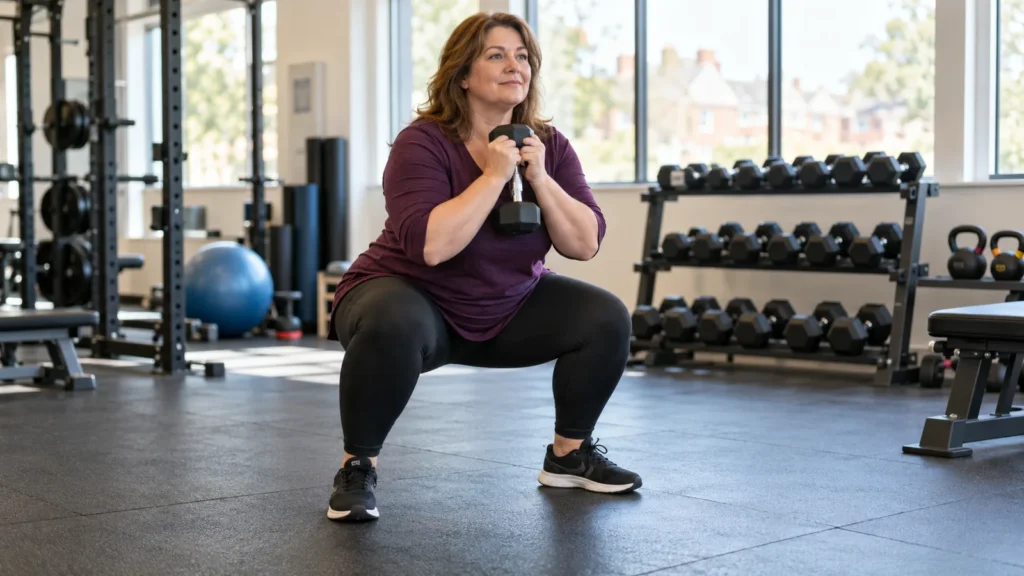
1. Goblet Squat
Hold one dumbbell upright against your chest. Stand with your feet a little wider than your hips, toes turned slightly out. Push your hips back, bend your knees and lower as far as feels comfortable, then drive through your heels to stand.
A wider stance gives the fold room between your thighs. If depth feels awkward, squat down to touch a chair, then stand. Avoid letting your knees cave inwards.
2. Glute Bridge
Lie on your back with your knees bent and feet flat. Squeeze your bottom and lift your hips until your body forms a line from shoulders to knees. Pause, then lower slowly.
The fold may slide towards your ribs when you lie down. Put a pillow under your head, or do a hip thrust with your upper back against a sofa. Avoid arching your lower back. NHS physiotherapy advice for diastasis recti is to wait until 6 weeks after birth for bridges.
3. Supported Dumbbell Row
Place one hand on a sturdy chair or bench and step the opposite foot back. Hold a dumbbell in your free hand. Pull it towards your hip, squeezing your shoulder blade back, then lower slowly.
This staggered stance lets the fold hang freely instead of pressing on your thighs. Avoid twisting your body to heave the weight up.

4. Wall or Incline Push-Up
Place your hands on a wall at shoulder height. Step your feet back, keep your body straight and bend your elbows to bring your chest towards the wall, then push back. Progress to a worktop, then a sturdy table.
Floor push-ups press the fold into the floor and load the middle of your tummy more. Incline versions avoid both. Avoid letting your hips sag.
5. Romanian Deadlift
Hold a dumbbell in each hand in front of your thighs. Soften your knees, push your hips back and slide the weights down your legs until you feel a stretch in your hamstrings. Keep your back flat, then squeeze your bottom to stand.
Use a slightly wider stance and stop when the fold meets your thighs. A flat back matters more than depth.
6. Step-Up
Place your whole foot on a low step or the bottom stair. Press through your heel to step up, then step down with control. Hold a rail at first.
A lower step means less knee lift, so the fold is less likely to block your thigh.
7. Dead Bug or Heel Taps
Lie on your back with your knees bent over your hips and arms reaching up. Gently brace, then lower one heel to tap the floor while the opposite arm reaches back. Return and switch sides.
Start with heel taps only, arms still. If a ridge or bulge appears along the middle of your tummy, stop and choose an easier version.
8. Farmer Carry
Hold a dumbbell in each hand by your sides. Stand tall and walk slowly for 20 to 30 seconds.
A farmer carry trains grip, shoulders and core while you stand, which many women with a heavy fold find easier than floor work. Avoid leaning or shrugging.
Moves to Avoid for Now
These put strain on the middle of your tummy or make the fold bounce, so leave them out for now:
- Sit-ups and crunches.
- Full floor planks, especially in the months after birth.
- Straight-leg raises while lying on your back.
- Jumping moves, such as burpees and jump squats.
- Any lift where you hold your breath to finish.
Breathing and Core Bracing
Good breathing protects your back, pelvic floor and blood pressure.
Breathe Out on the Effort
Breathe in as you lower the weight. Breathe out as you lift, push or stand. A simple cue is “blow as you go”. Never hold your breath to force out a final rep.
Use a Gentle Brace
Before each rep, gently lift your pelvic floor, as if stopping yourself passing wind, and draw your lower tummy in slightly. This gentle core bracing is light tension, not a hard clench, and you keep breathing while you hold it. If your tummy domes down the middle, the move is too hard for now.
Skin Care and Supportive Clothing
Before You Train
Make sure the skin under the fold is clean and fully dry. An anti-chafe balm on the crease and inner thighs can reduce rubbing. A pharmacist can suggest one.
What to Wear
Choose moisture-wicking leggings with a high, wide waistband that sits across the fold rather than cutting in underneath it. Some women wear a light support band to stop the fold bouncing. Our guide to apron belly support compares belts, slings and binders.
After Your Session
Change out of sweaty clothes soon. Shower, lift the fold, rinse underneath and pat dry. If the skin turns red or sore, see our tips on apron belly skin care, and speak to a pharmacist or GP if it does not settle.
Track Progress Beyond the Scales
The scales can stay still for weeks while you get stronger, as water and muscle changes hide fat loss.
Keep a Training Log
Write down each move, the weight and your sets and reps. Rising numbers are clear proof of progress.
Measure and Notice Everyday Wins
Measure your waist every 2 to 4 weeks at the same spot and time of day, with the tape level. Notice how stairs, shopping and getting up from the floor feel. Less back ache counts too, and our article on whether an apron belly can cause back pain explains why.
When to Stop and See a GP
Mild muscle ache after training is normal. Some signs are not.
Stop Straight Away If You Feel
- Chest pain, pressure or tightness.
- Dizziness, faintness or unusual shortness of breath.
- Sharp or sudden pain in a joint, your back or your tummy.
Call 999 if you have chest pain that spreads to your arms, jaw, neck or back, or chest pain with sweating or breathlessness.
Book a GP Appointment If You Notice
- A new lump or bulge in your tummy or groin.
- Doming that does not improve with easier moves.
- Leaking urine, or a heavy, dragging feeling in your vagina when you lift.
- Joint pain that lasts more than a few days.
- Broken skin or signs of infection under the fold.
Frequently Asked Questions
Can strength training get rid of an apron belly?
Strength training cannot remove an apron belly on its own. It builds muscle and supports fat loss when paired with a balanced diet, which may make the fold smaller and lighter. It cannot burn fat from the tummy alone or tighten loose, stretched skin. Surgery, such as a panniculectomy, is the only way to remove a large fold.
How often should I lift weights with an apron belly?
The NHS advises strengthening activities that work all the major muscle groups on at least 2 days a week. Beginners can start with 2 full-body sessions a week and build up to 3 by week 4. Leave a rest day between sessions, and keep walking or doing other activity on your rest days.
Is it safe to lift weights after a tummy tuck?
Only once your surgeon says it is safe. The NHS says most people need about 4 to 6 weeks off work and exercise after a tummy tuck, with full recovery taking around 6 weeks. Your own plan may be different, so follow your surgical team’s advice and start with light weights when you return.
Can I do weights with diastasis recti?
Many people can, with the right changes. NHS physiotherapy advice is to avoid sit-ups, crunches, heavy lifting and holding your breath while the gap heals. Choose supported moves, breathe out on each effort and stop if your tummy domes. If the gap is still obvious 8 weeks after birth, see your GP for a physiotherapy referral.
What weight should a beginner start with?
Pick a weight you can lift 10 to 12 times with good form and 3 or 4 reps to spare. For most beginners, this means light dumbbells or a light resistance band. Add a little weight only when the last reps feel easy. If your form slips or you hold your breath, go lighter.
Final Thoughts
Strength training builds muscle, supports fat loss alongside a balanced diet and can help your posture, back and confidence. It will not remove loose skin, so set goals around strength and how you feel.
Check with your GP first if you have had surgery, recently given birth, or have a hernia, diastasis recti or high blood pressure. Then start light, breathe out on every effort and follow the plan week by week.