

 11 Aug 2026
 9 min read
Before and after pictures are everywhere when you search for apron belly transformations, and they can be genuinely motivating. They can also be deeply misleading. Learning to read apron belly before and after pictures critically is one of the most useful skills you can develop, because it helps you set realistic expectations, spot genuine progress in your own journey, and avoid being sold outcomes that no exercise plan or product can reliably deliver.
Quick answer: how to approach apron belly before and after pictures
When you encounter apron belly before and after pictures, the goal is to evaluate what has actually changed and why, rather than accepting the visual at face value. A dramatic-looking transformation can reflect genuine fat loss, improved posture, a different camera angle, flattering underwear, or simply better lighting — and often it is a combination of several of these at once.
The most useful thing you can do before drawing any conclusions is slow down. Ask yourself whether the two photos were taken under the same conditions. If the lighting, pose, clothing, or camera distance differ between the before and after shots, the comparison is not reliable. This matters whether you are looking at someone else’s results online or tracking your own progress.
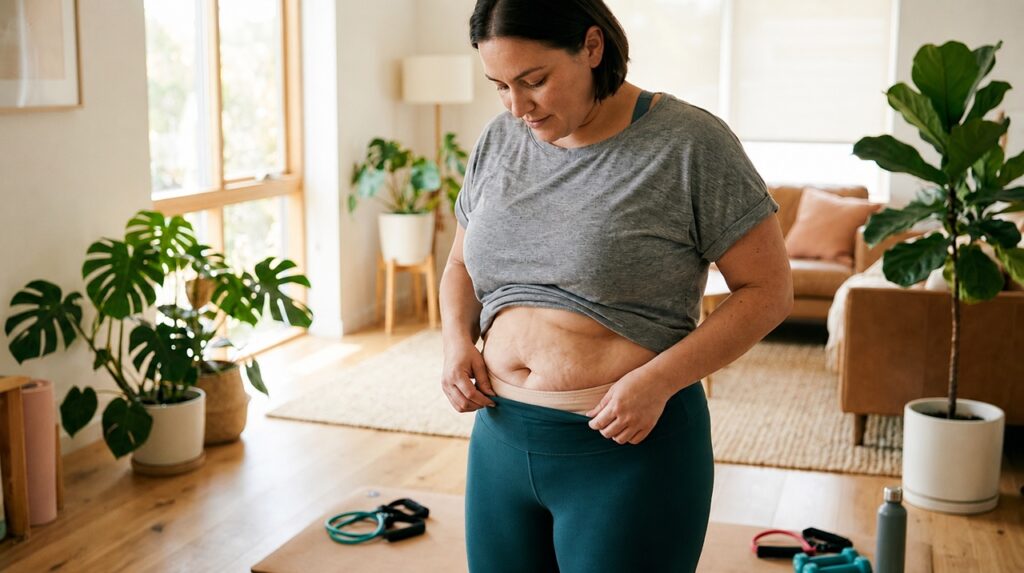
Understanding what an apron belly actually is helps enormously here. The apron belly explained overview covers the anatomy in detail, but the short version is that the lower abdominal overhang involves both subcutaneous fat and, in many cases, excess skin. Fat responds to a calorie deficit and exercise; skin does not shrink in the same way or on the same timeline. A photo taken six weeks into a programme will rarely capture the full picture.
If your aim is to understand how to get rid of apron belly tissue over time, you need a baseline for comparison that is honest and consistent. That starts with how you set up your photos.
Step-by-step process for apron belly before and after pictures
Prepare the right setup
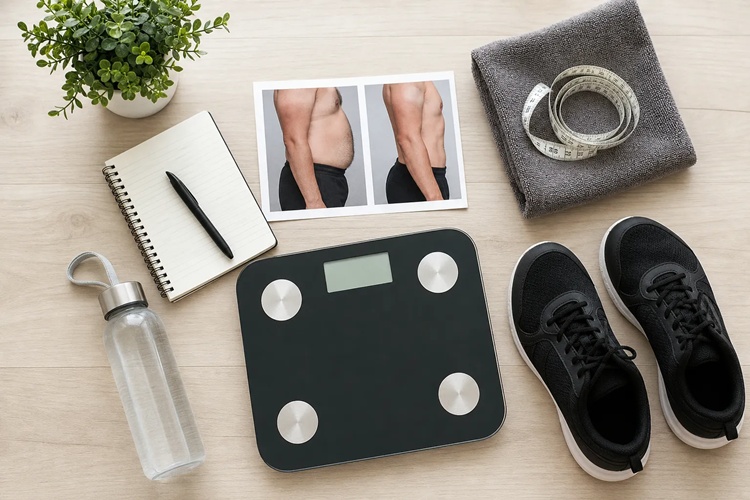
Consistency is the foundation of any useful before and after comparison. Before you take a single photo, decide on a fixed set of conditions and commit to repeating them exactly each time.
Choose one location with neutral, even lighting — natural daylight from a window works well, but avoid direct sunlight that creates harsh shadows across the abdomen. Overhead artificial lighting is one of the most common ways before and after pictures are manipulated, intentionally or not, because it can make the belly appear to protrude more or less depending on the angle of the shadow it casts.
Stand in the same spot every time, at the same distance from the camera. Use a tripod or prop your phone against a stable surface rather than holding it, which introduces variation in height and tilt. Wear the same underwear or fitted clothing in every photo. High-waisted briefs, for example, will visually compress and lift the lower abdomen in a way that loose shorts will not, and switching between the two across a series of photos creates a false impression of change.
Take photos from at least two angles: directly front-on and from the side. The side profile is often more informative for tracking apron belly before and after changes because it shows the degree of overhang more clearly than a frontal shot.
Follow the core process

Once your setup is consistent, the process of reading apron belly before and after pictures — whether your own or someone else’s — follows a clear sequence.
First, identify what type of change is being shown. There are three distinct things that can alter the appearance of an apron belly in a photograph: a reduction in subcutaneous fat, a change in posture, and a change in skin laxity. Fat loss is gradual and measurable. Posture changes can happen quickly and look dramatic in photos — someone standing with a posterior pelvic tilt will have a more pronounced lower belly overhang than the same person standing tall with their pelvis neutral. Skin laxity changes very slowly and is often the last thing to shift, if it shifts at all without surgical intervention.
Second, check the time frame. A credible apron belly before and after exercise series will typically span several months, not days or weeks. Rapid visual changes in short timeframes are almost always explained by posture, lighting, or clothing rather than genuine tissue change.
Third, look at the whole body. If someone has lost a meaningful amount of weight, you will usually see changes across multiple areas — face, arms, legs — not just the abdomen. A photo that shows a dramatically flatter belly with no visible change elsewhere warrants scepticism.
Reading your own photos works the same way. Compare them side by side under identical conditions and look for gradual, consistent change rather than dramatic overnight shifts. For a thorough grounding in what you are actually looking at anatomically, the plain-English apron belly guide is worth reading before you start tracking.
Check whether it is working
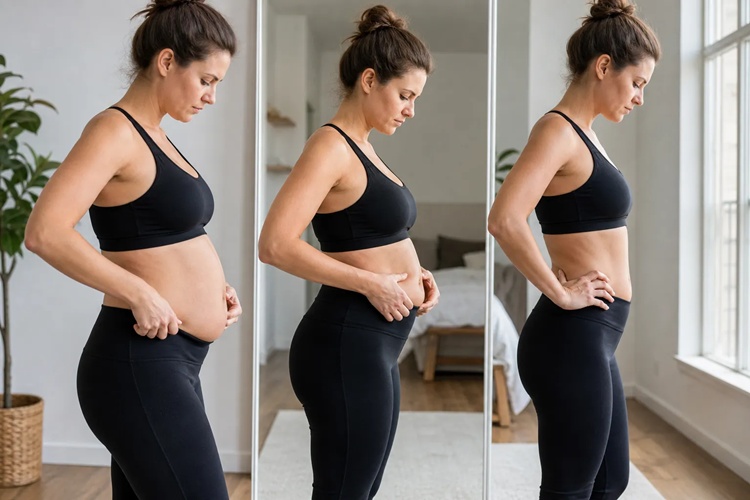
Progress with an apron belly is often slower and less linear than people expect, which is why apron belly before and after pictures can feel discouraging even when genuine change is happening.
A useful check is to combine photographic tracking with other measurements. Waist circumference measured at the same point each time, and lower abdominal circumference measured just above the pubic bone, can show change that is not yet visible in photos. These numbers are less susceptible to the lighting and angle variables that affect images.
When reviewing your apron belly before and after exercise progress, look for changes in how the overhang sits rather than whether it has disappeared. A reduction in how far it protrudes from the side, a slight lift in the fold, or a reduction in the depth of the crease beneath it are all meaningful signs of progress. Full elimination of the overhang through exercise and diet alone is not a realistic expectation for everyone, particularly where significant skin laxity is involved.
If you have been consistent with your approach for twelve weeks or more and see no change in any measurement or photo, that is a signal to review your programme rather than to give up.
Avoid the common mistakes
The most common mistake people make with apron belly before and after pictures is comparing photos taken under different conditions and drawing conclusions from the difference. This applies equally to your own tracking and to transformation images you find online.
A second frequent error is expecting the apron belly to respond like the rest of the abdomen. The lower overhang often contains a higher proportion of stubborn subcutaneous fat and, depending on the person’s history, may include stretched skin that will not tighten regardless of fat loss. Comparing your results to someone whose before and after pictures reflect primarily fat loss, when your situation involves significant skin laxity, sets an unfair benchmark.
A third mistake is focusing only on the front-facing photo. The side profile is where the most meaningful apron belly before and after changes are visible, and ignoring it means you may miss real progress.
Finally, avoid the trap of taking photos too frequently. Daily photos introduce too much noise — bloating, hydration, and digestive variation all affect how the abdomen looks on any given day. Monthly photos, taken under consistent conditions, give a far more accurate picture of genuine change.
When to adjust your apron belly before and after pictures approach
There are situations where the standard approach to tracking needs to change.
If you have recently had surgery, are postpartum, or have experienced significant weight loss, the tissue involved in your apron belly may be changing in ways that photographs alone cannot capture. In these cases, clinical measurements or assessments from a healthcare professional are more informative than visual tracking.
If your photos show consistent change in measurements but little visible change in the photographs, trust the measurements. Skin can take considerably longer to adapt than the underlying fat tissue, and the visual result often lags behind the physiological one.
If you have plateaued in both measurements and photographs after a sustained period of consistent effort, it may be time to review whether your exercise approach is appropriate for your specific situation. Targeted movement for a heavier lower belly can make a meaningful difference when general exercise has stalled, particularly for the lower abdominal area that an apron belly affects most.
It is also worth adjusting your expectations if you are comparing yourself to before and after pictures that show results following surgery. Panniculectomy and abdominoplasty produce changes that diet and exercise cannot replicate, and conflating the two types of results leads to frustration.
FAQ about apron belly before and after pictures
How to fix apron belly without surgery?
Consistent calorie deficit, progressive exercise, and patience can reduce the fat component of an apron belly. Excess skin may remain, but the overall overhang can diminish meaningfully over time.
Does an apron belly ever go away?
The fat portion can reduce significantly with sustained effort. Loose skin may persist, particularly after large weight loss or pregnancy, and may not fully resolve without surgical intervention.
What does an apron belly look like after losing weight?
After weight loss, the overhang typically becomes smaller and less dense, but the skin fold may remain. Apron belly before and after pictures often show a flatter profile from the side rather than a completely smooth abdomen.
Can you fully flatten an apron belly?
For many people, full flattening through lifestyle changes alone is not achievable, especially where skin laxity is significant. Substantial reduction is realistic; complete elimination depends on individual anatomy.
What shrinks an apron belly?
A sustained calorie deficit combined with regular movement reduces the fat tissue. Strength training supports muscle tone beneath the overhang. Neither approach eliminates excess skin, which requires different intervention.
What should readers know first about apron belly before and after pictures?
Most transformation photos are not taken under controlled conditions. Differences in lighting, pose, and clothing account for a large portion of the apparent change in many apron belly before and after pictures.
How do you choose the right apron belly before and after pictures approach?
Use consistent conditions — same lighting, clothing, distance, and time of day — for every photo. Combine images with circumference measurements to get a complete and honest picture of progress.
What mistakes should you avoid with apron belly before and after pictures?
Avoid comparing photos taken under different conditions, checking progress too frequently, and benchmarking against results that involved surgery. These errors distort your perception of genuine progress.
Recommended next steps
The most practical thing you can do now is set up a consistent photo protocol and take your baseline images today, before you make any further changes to your routine. Decide on your location, lighting, clothing, and angles, and write them down so you can replicate them exactly in four weeks.
Alongside your photos, measure your lower abdominal circumference and record it with the date. This gives you a second data point that is independent of the visual variables that make apron belly before and after pictures so easy to misread.
From there, focus on the inputs you can control: a moderate, sustainable calorie deficit, regular movement suited to your current fitness level, and enough time for genuine tissue change to occur. Progress with an apron belly is real and achievable, but it is measured in months rather than weeks, and honest tracking is what allows you to see it clearly.